Rocky Mountain Trampoline Rings Installation
Contact us for additional Support
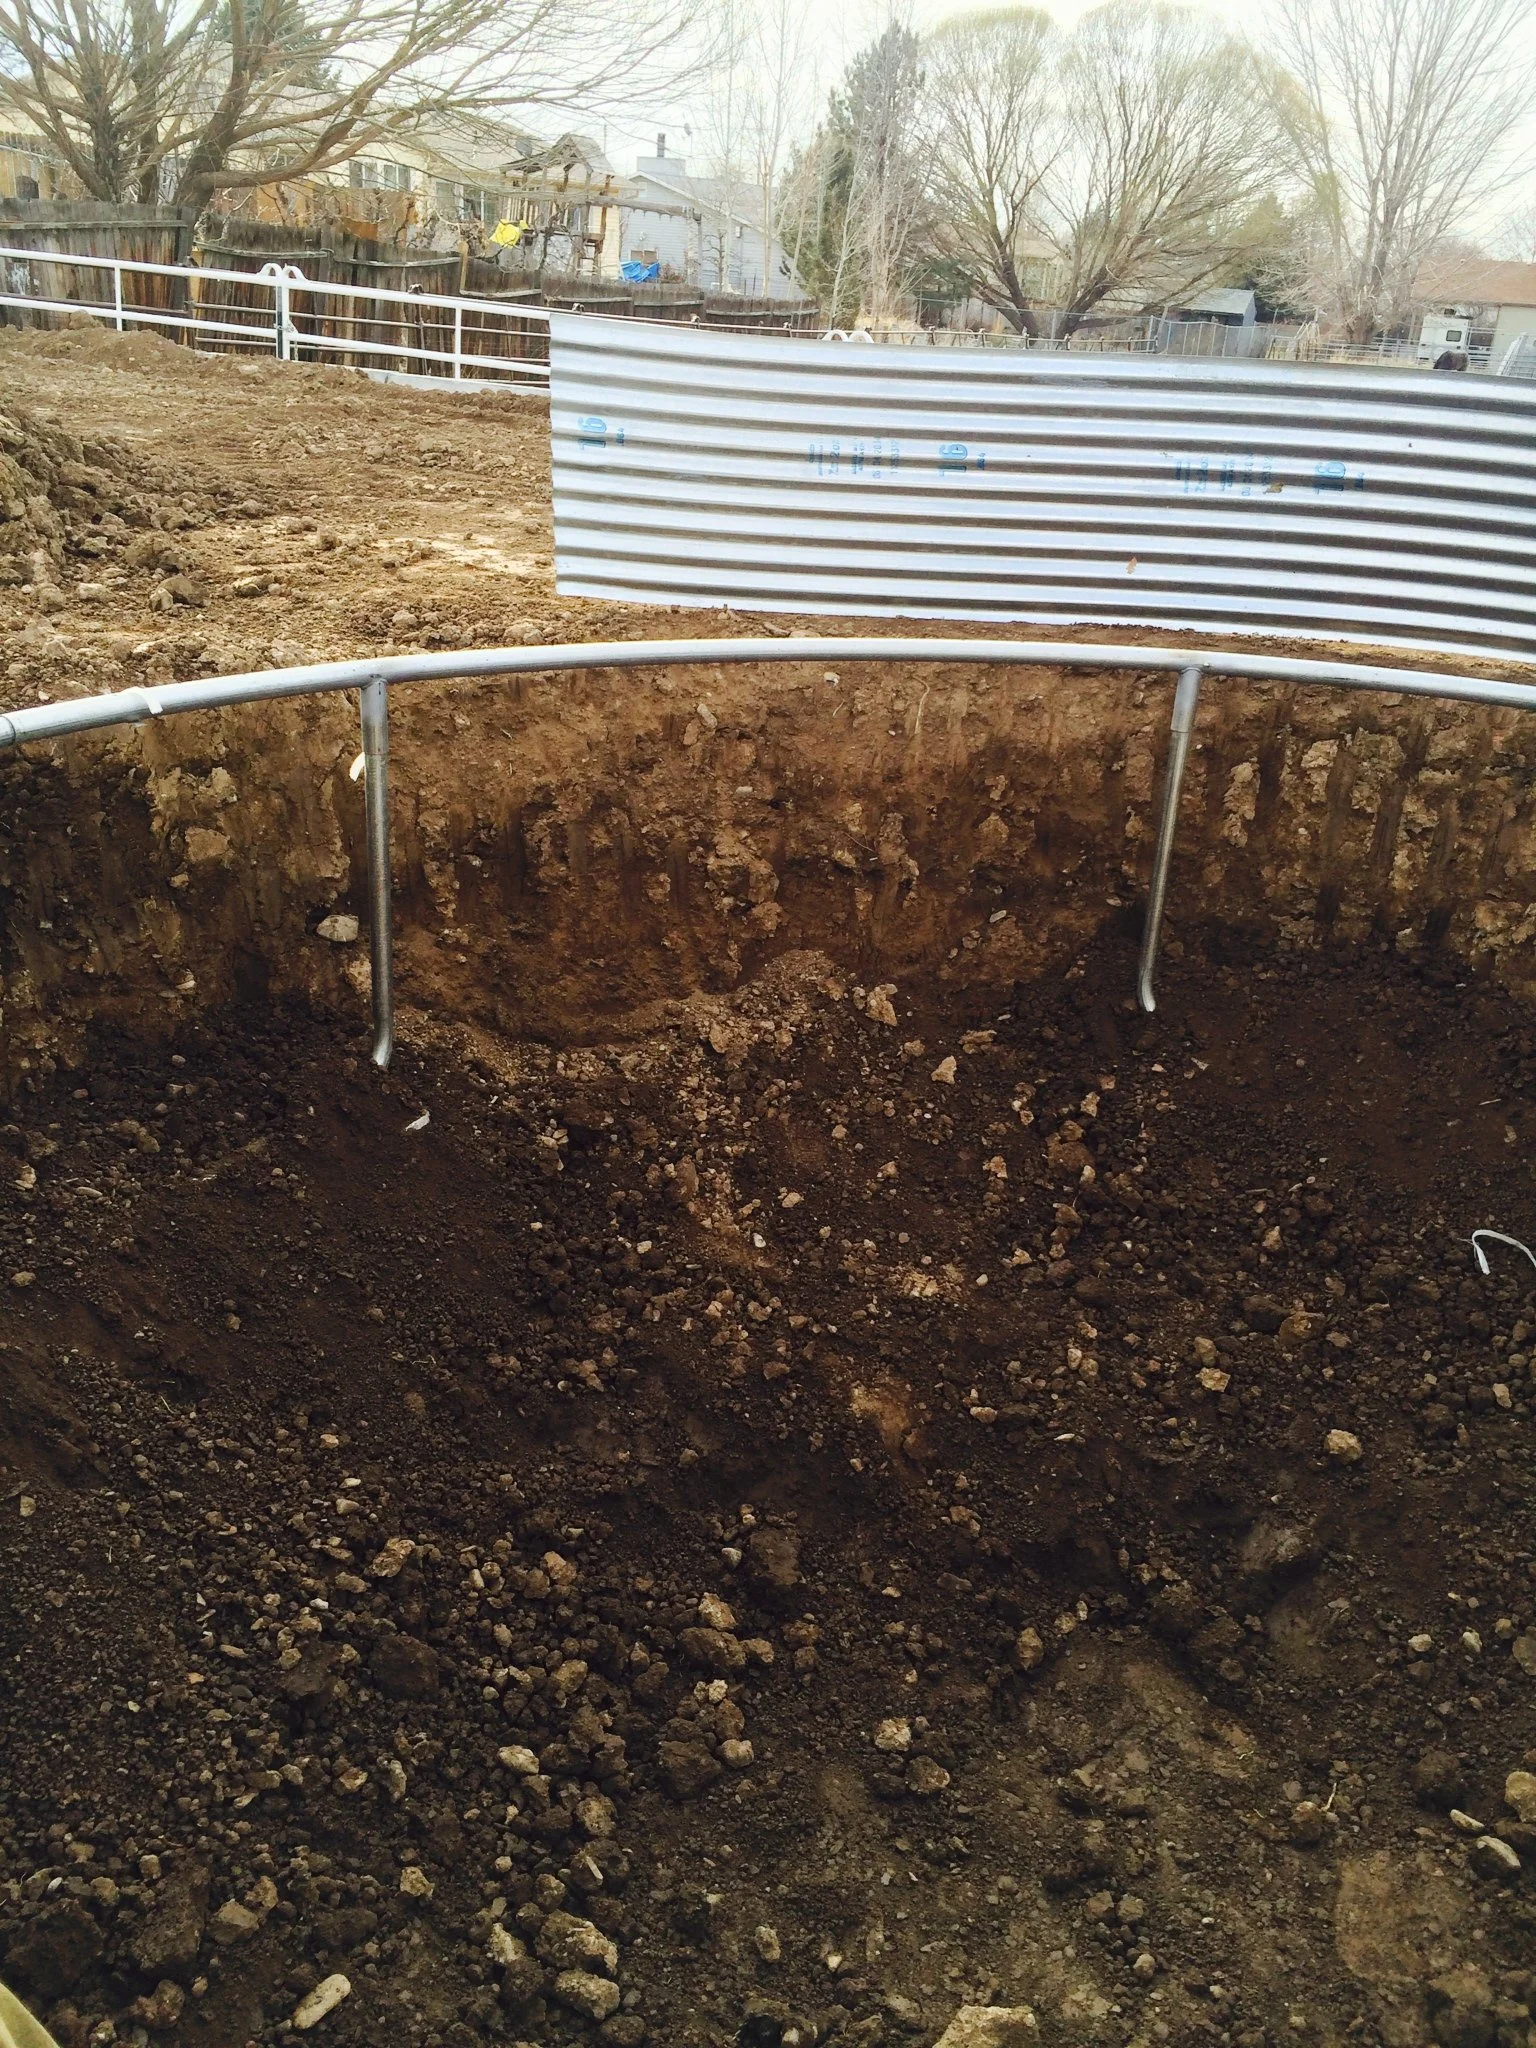
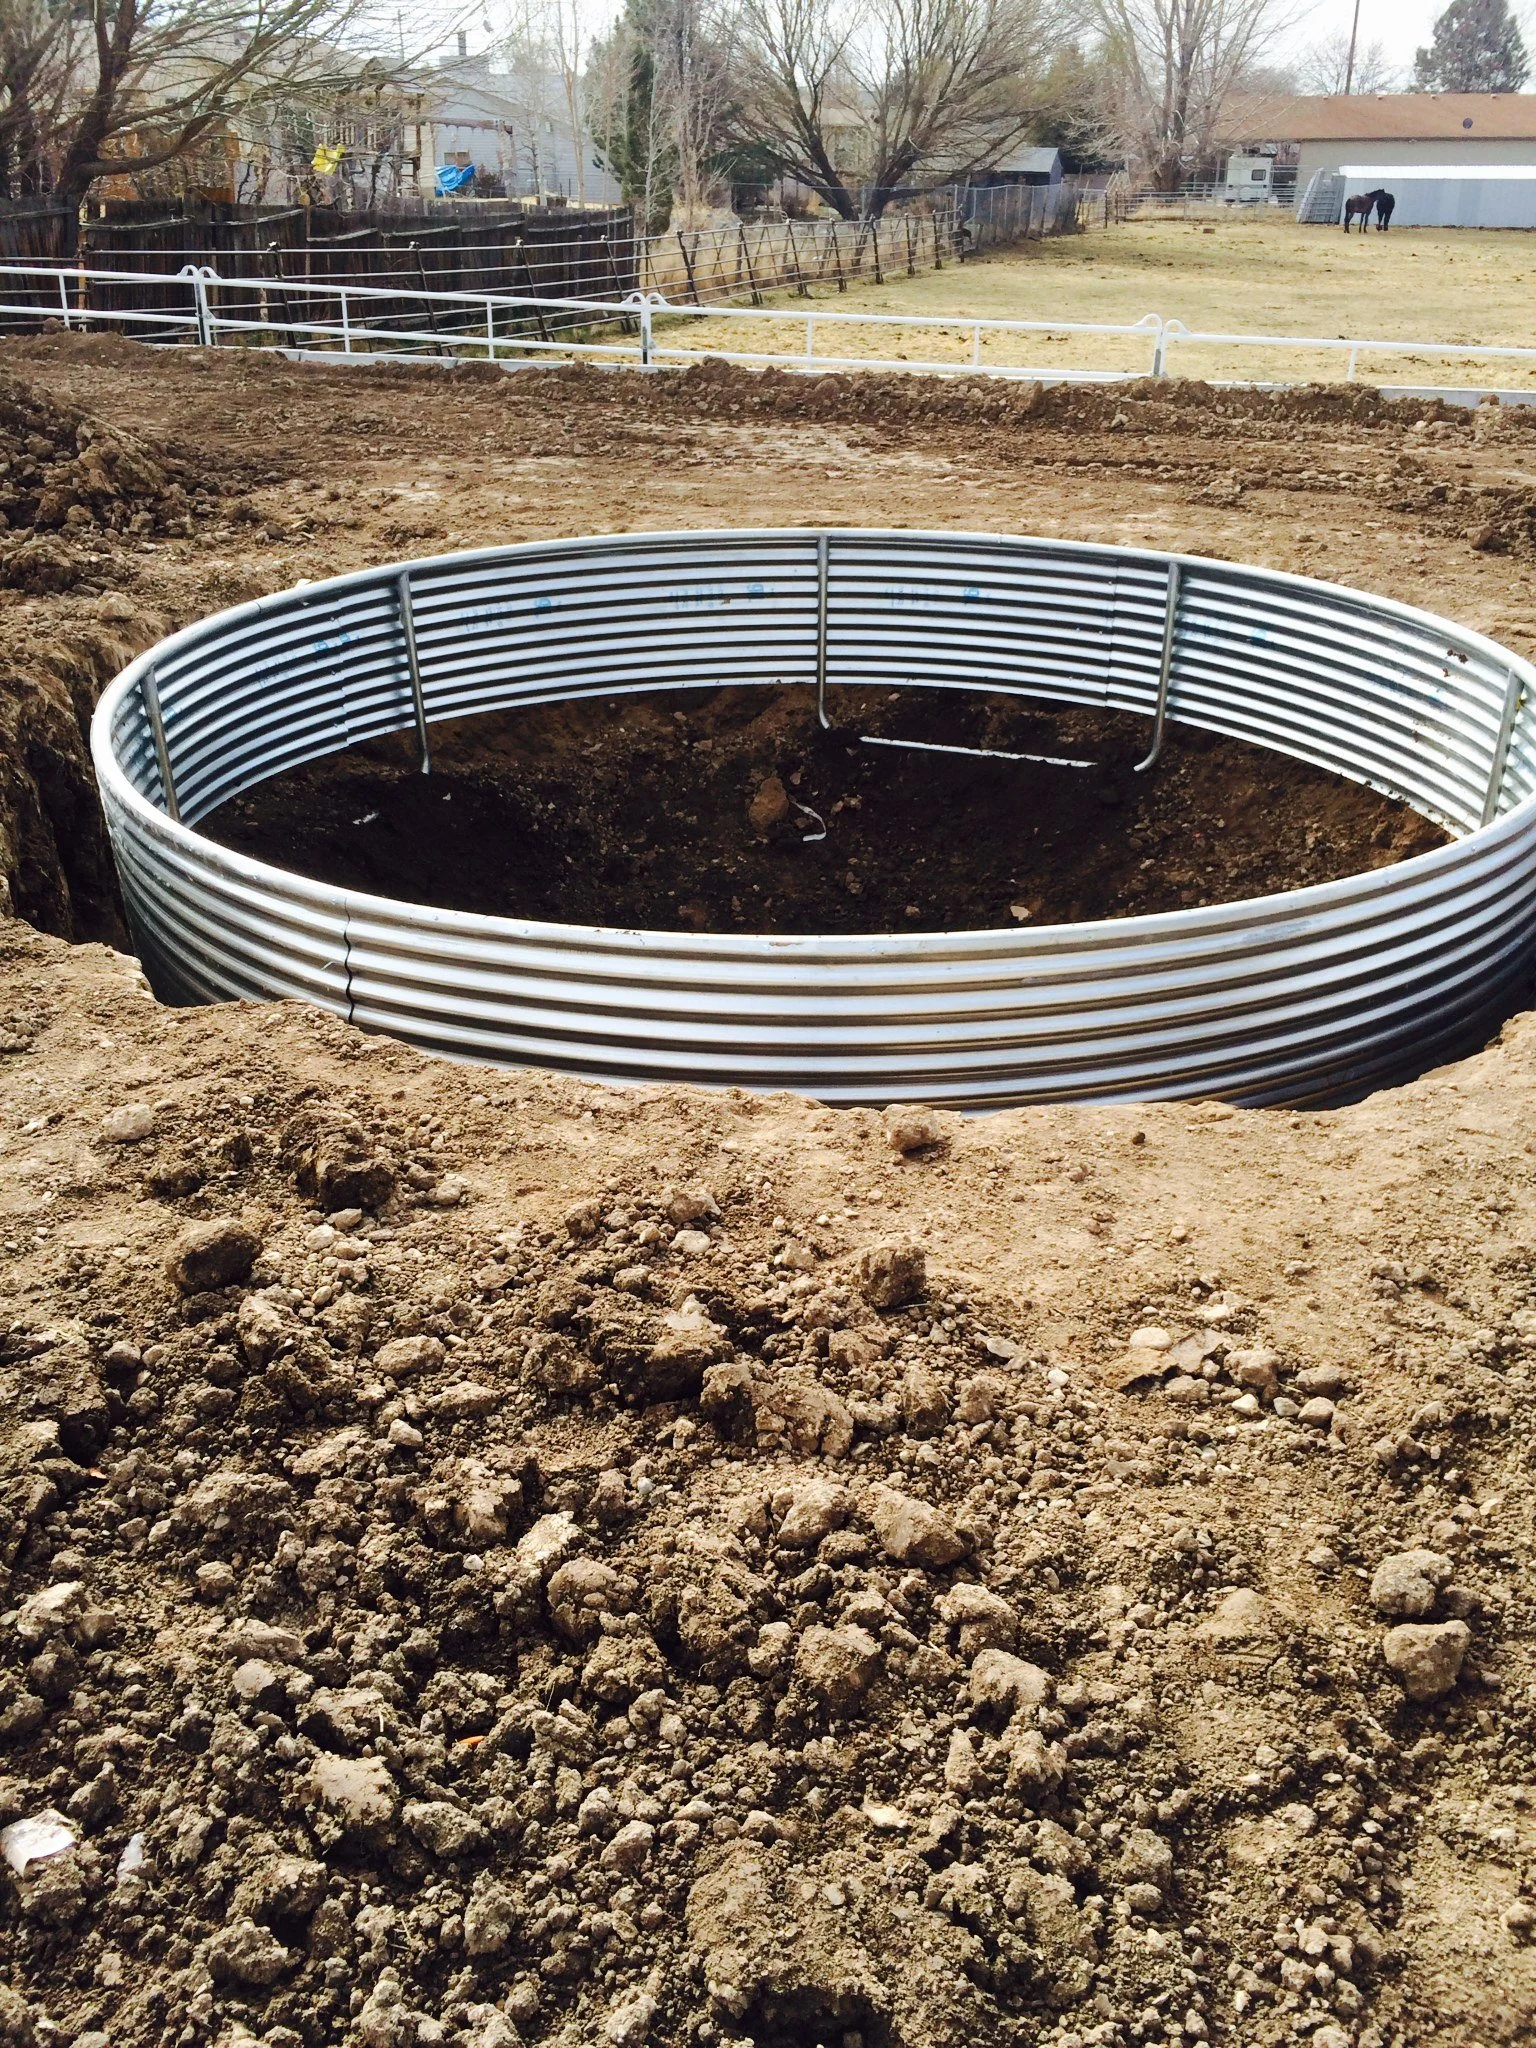
Step #1
Place the trampoline frame into the excavated hole so that the top bar of the trampoline frame is level with the ground.
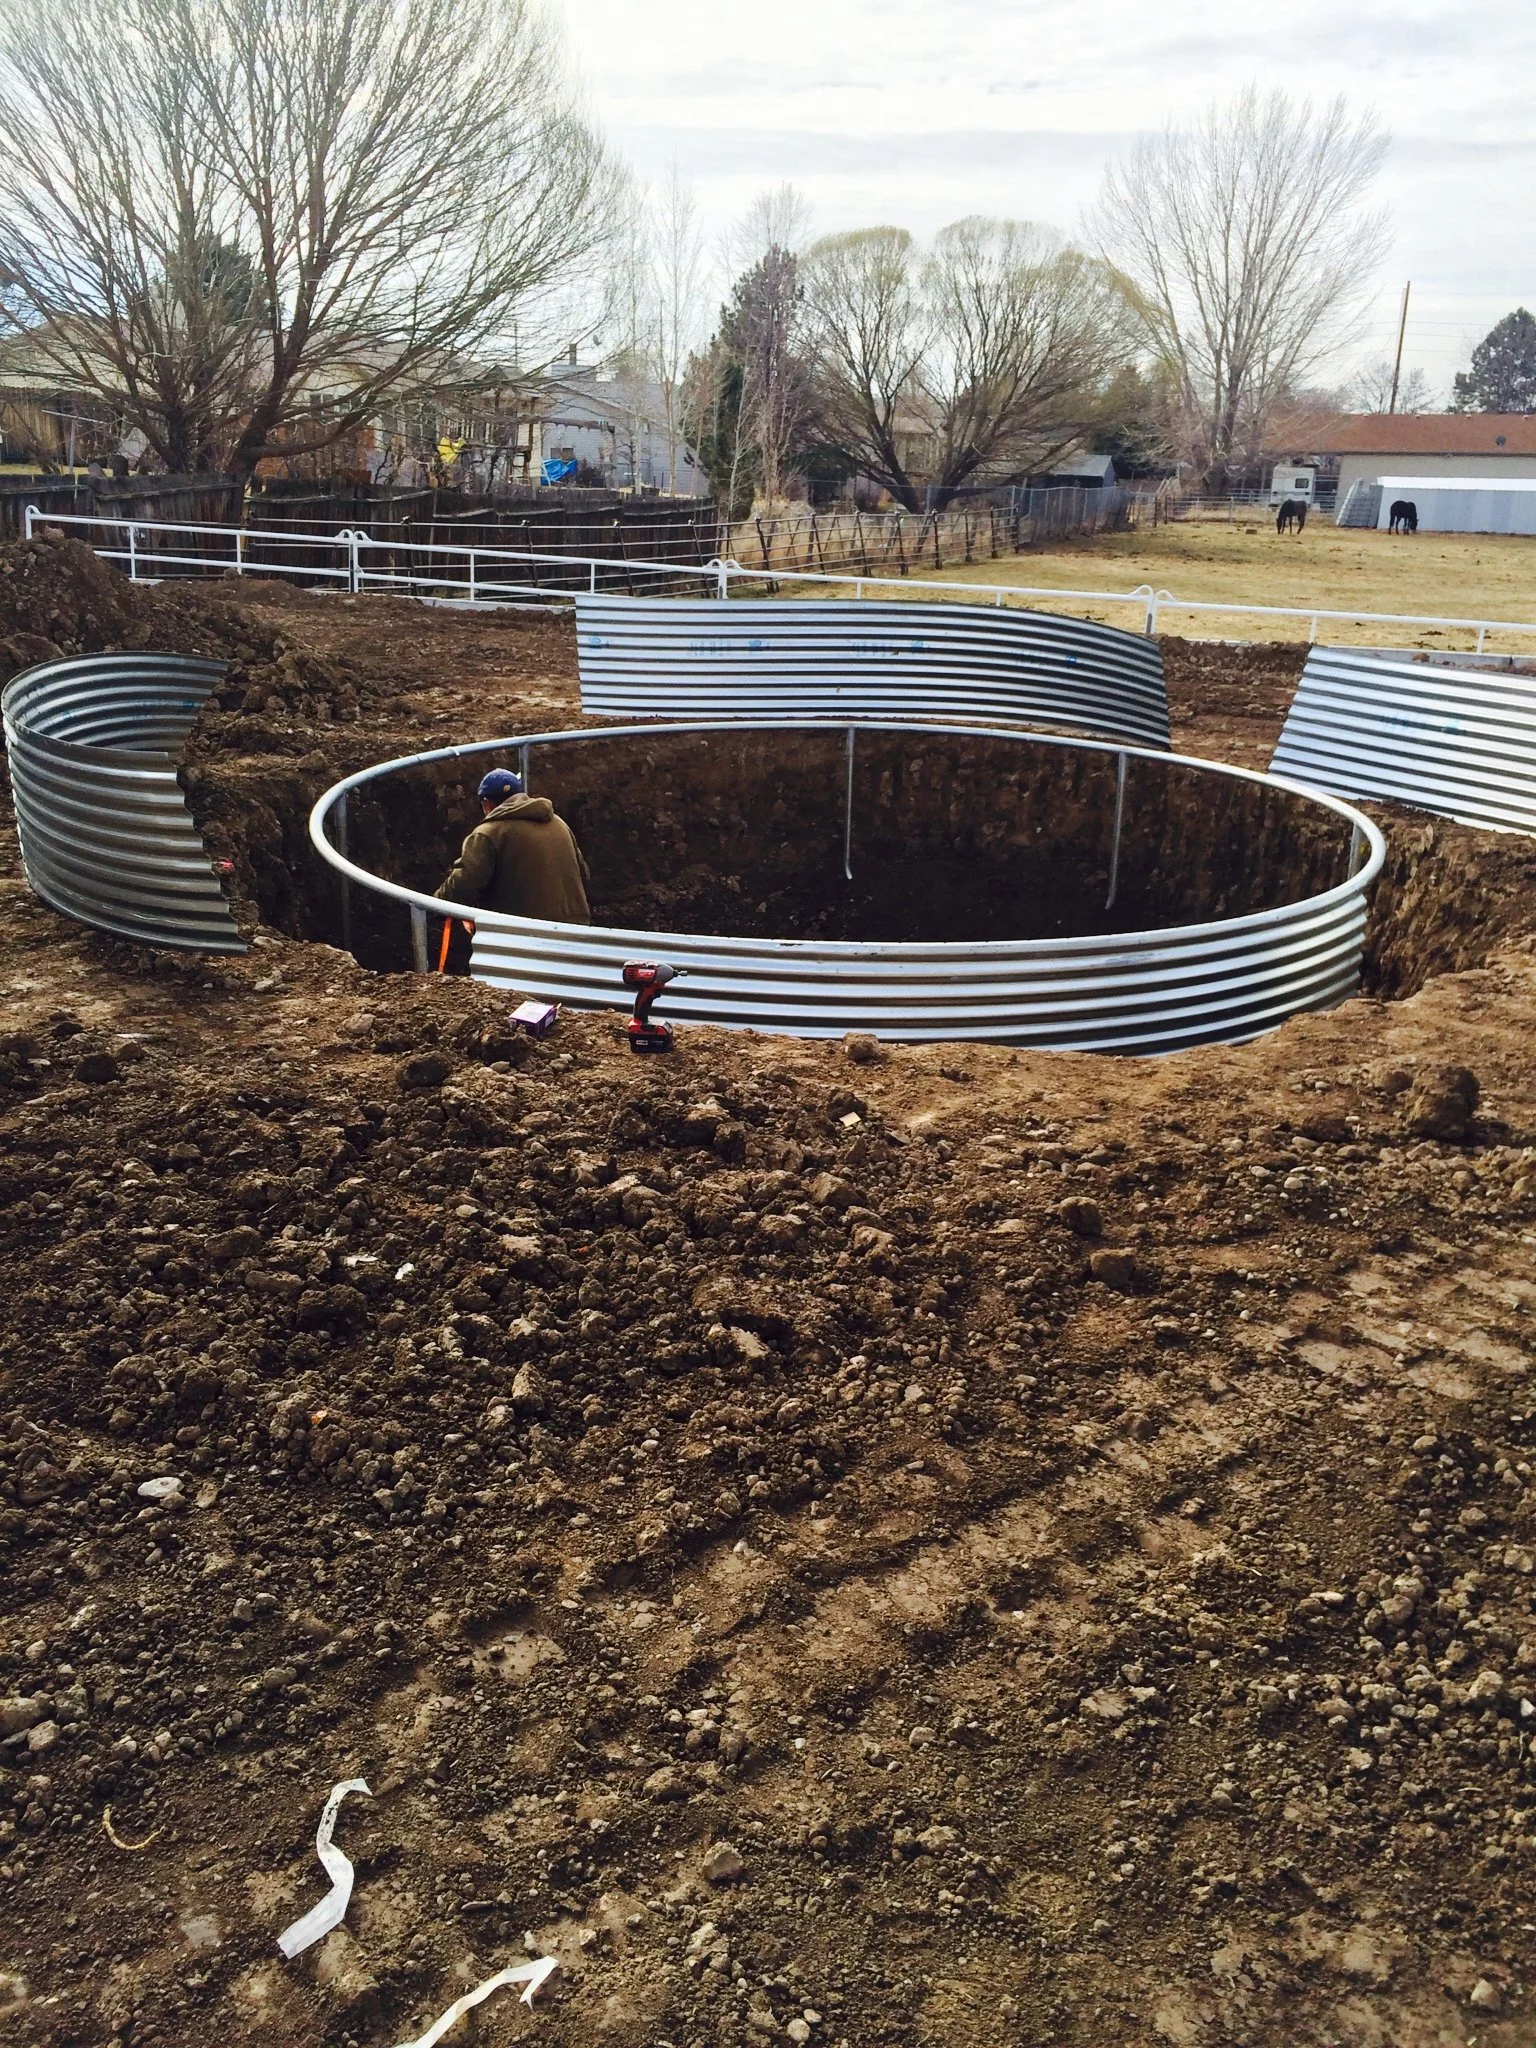
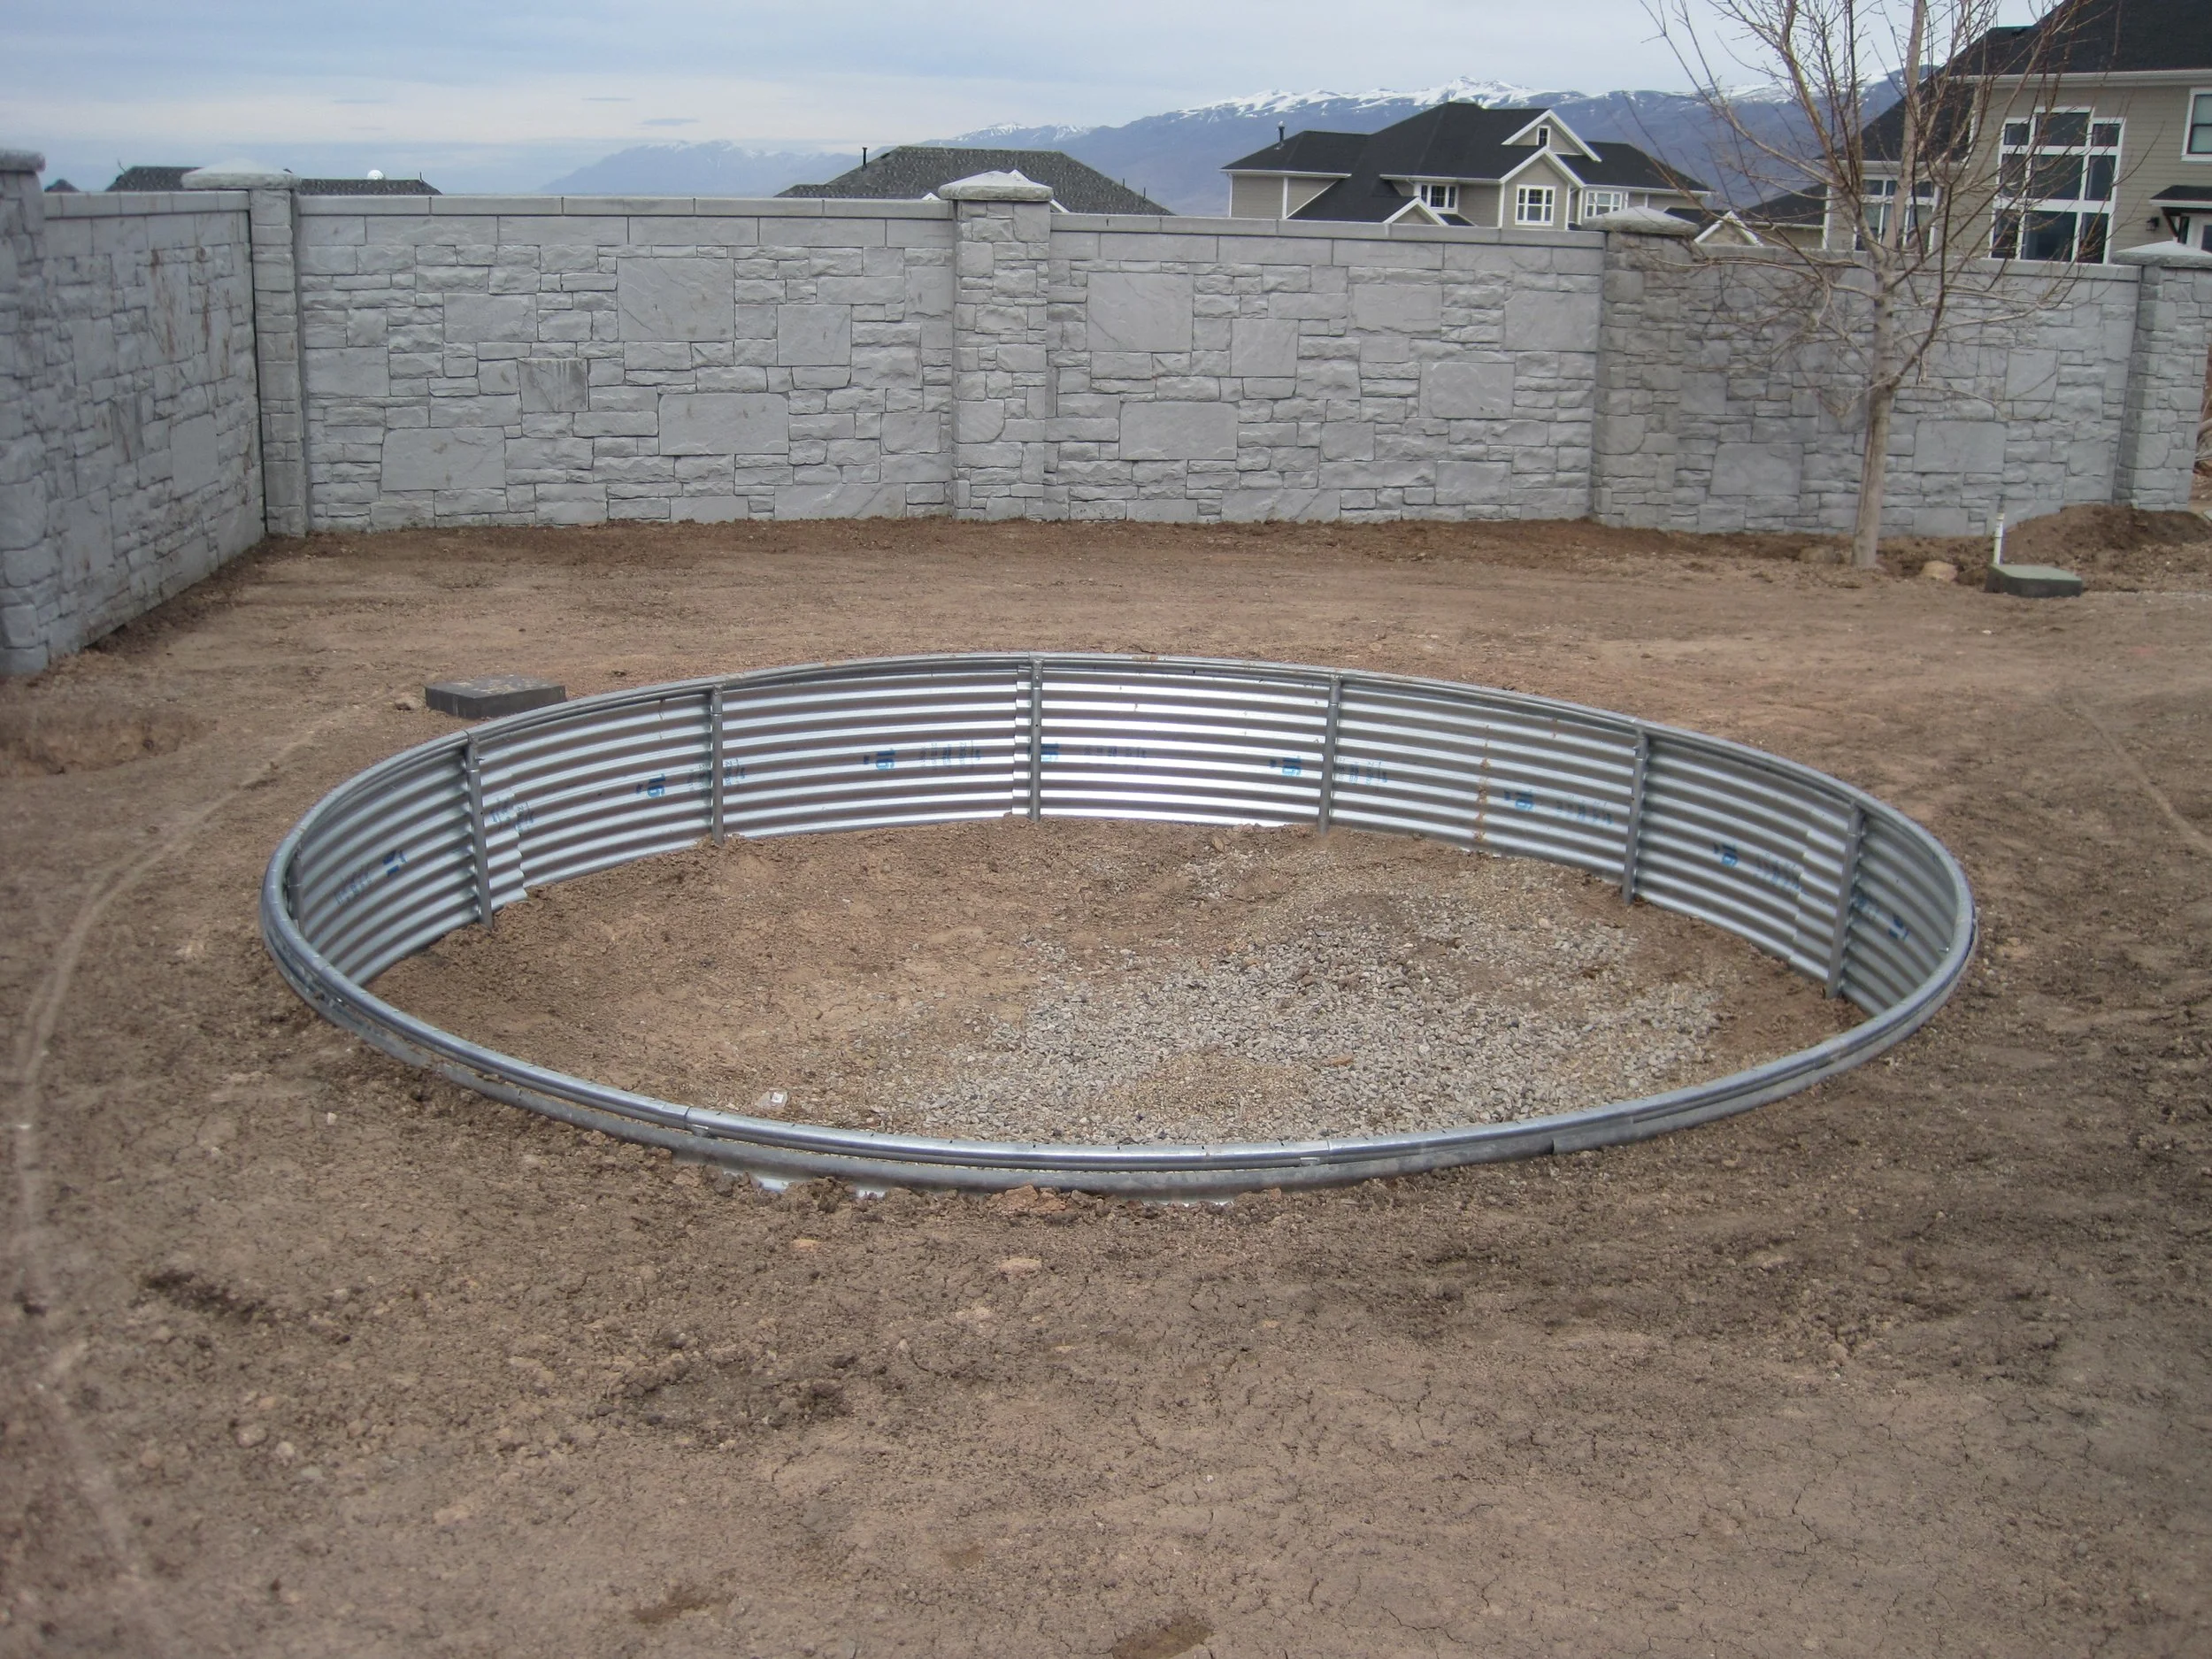
Step #2
Arrange the sheets of the Trampoline Ring around the outside perimeter of the trampoline frame.
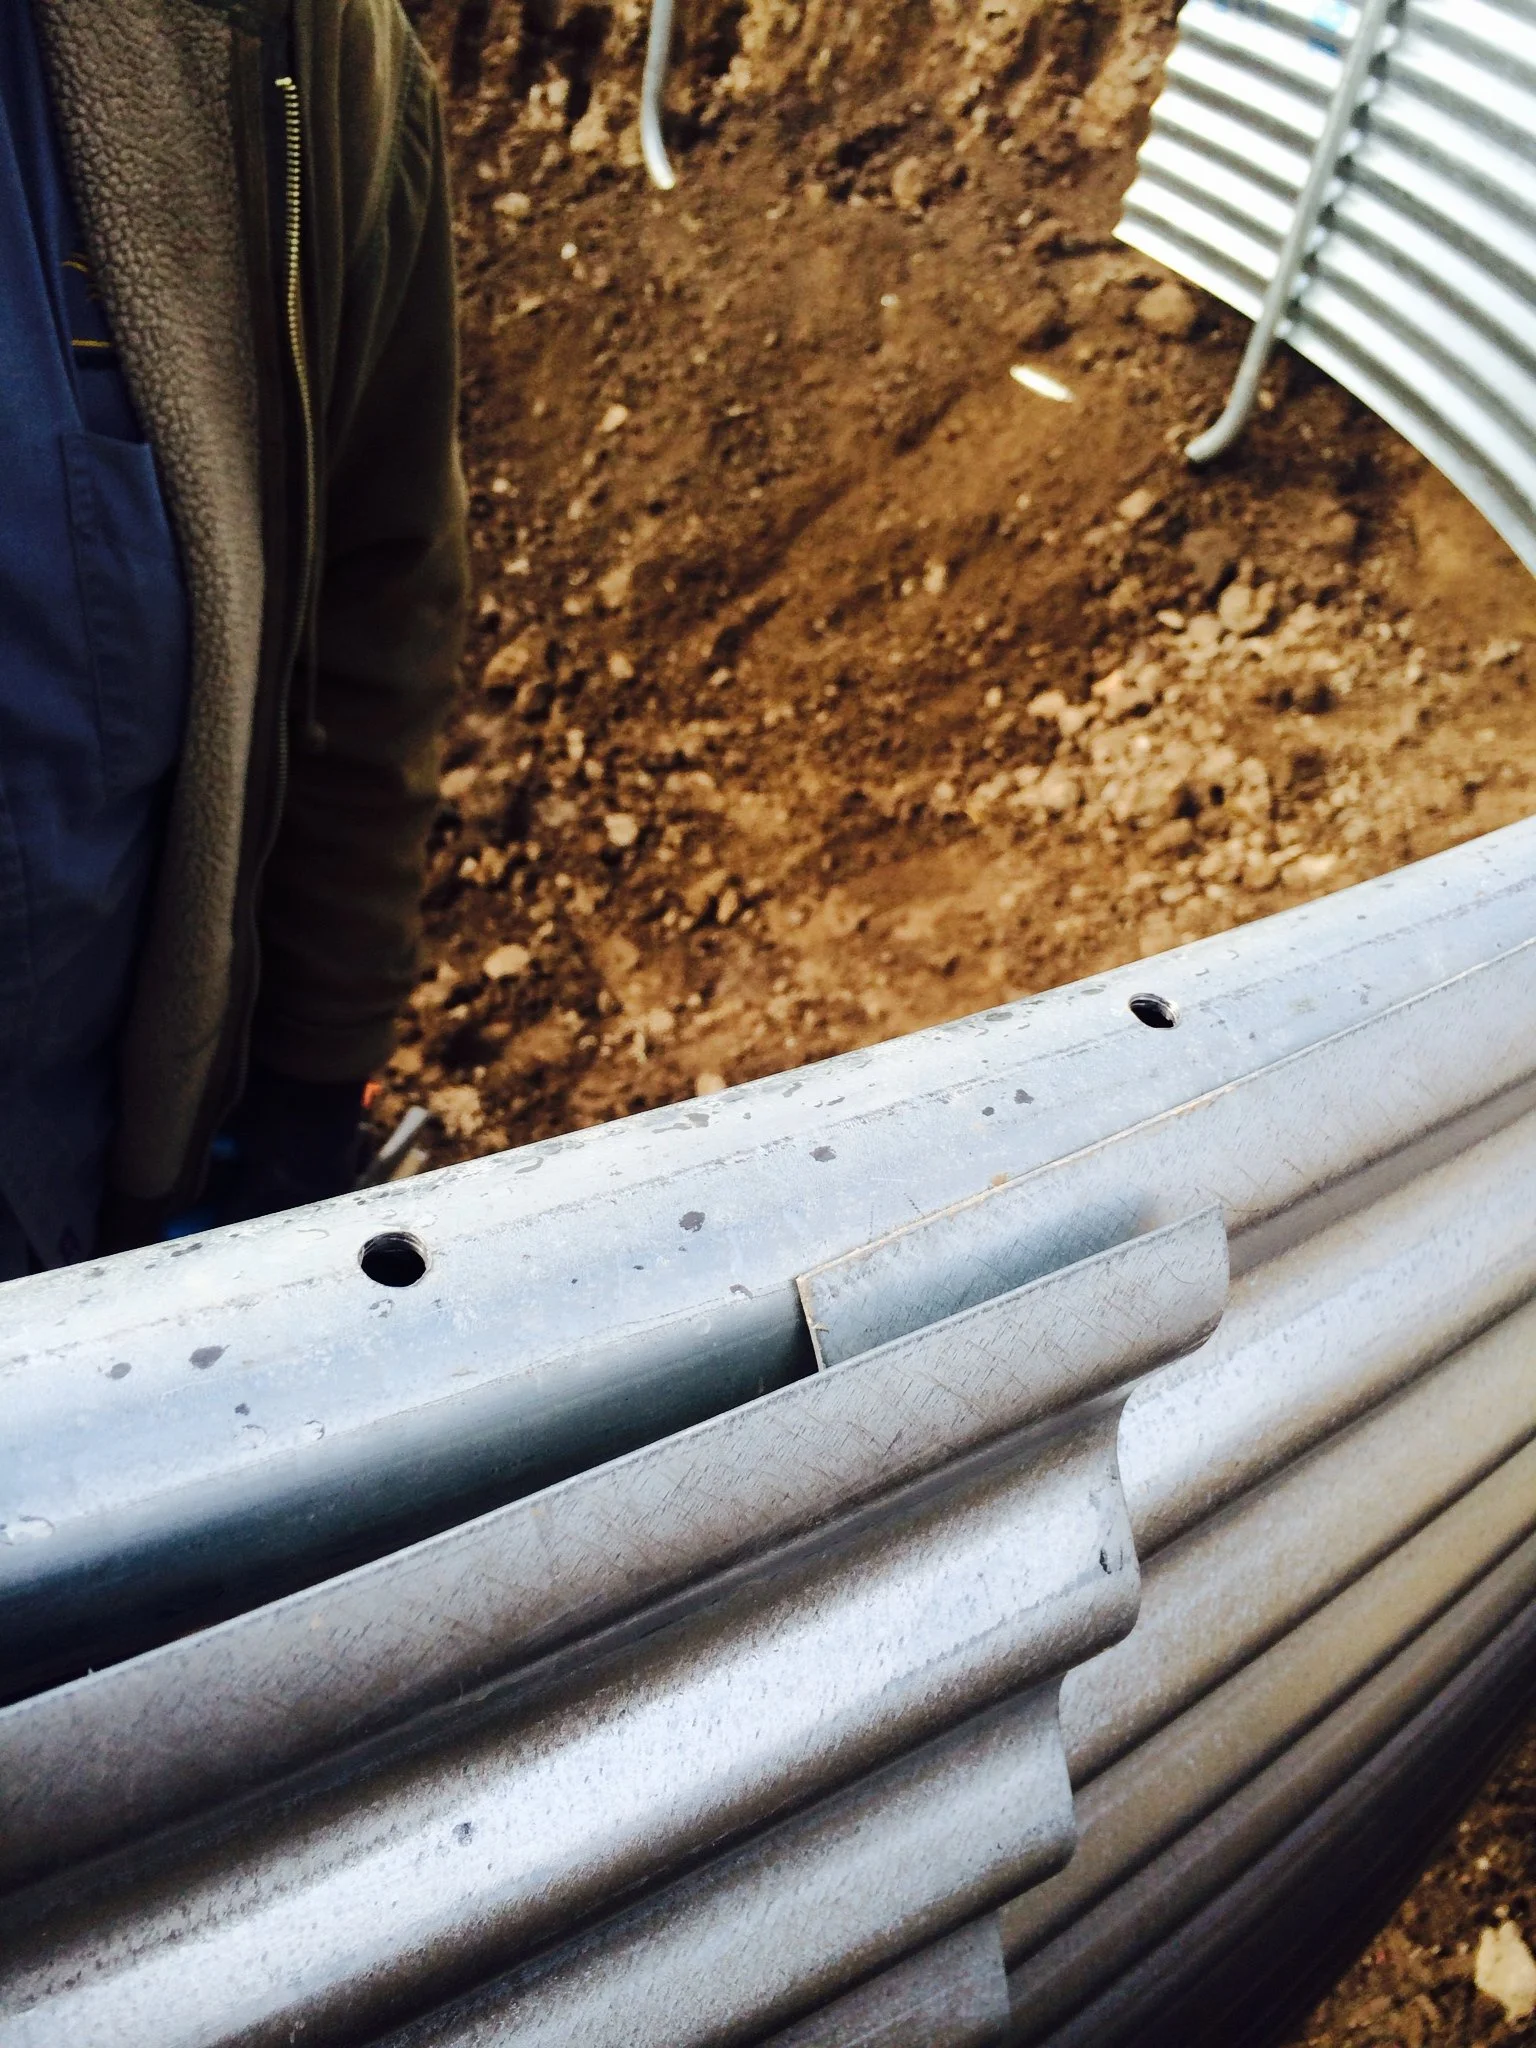
Step #3
Overlap each sheet of the Trampoline Ring and continue to tighten the overlaps until each sheet of the Trampoline Ring fits flush to the frame of the trampoline.
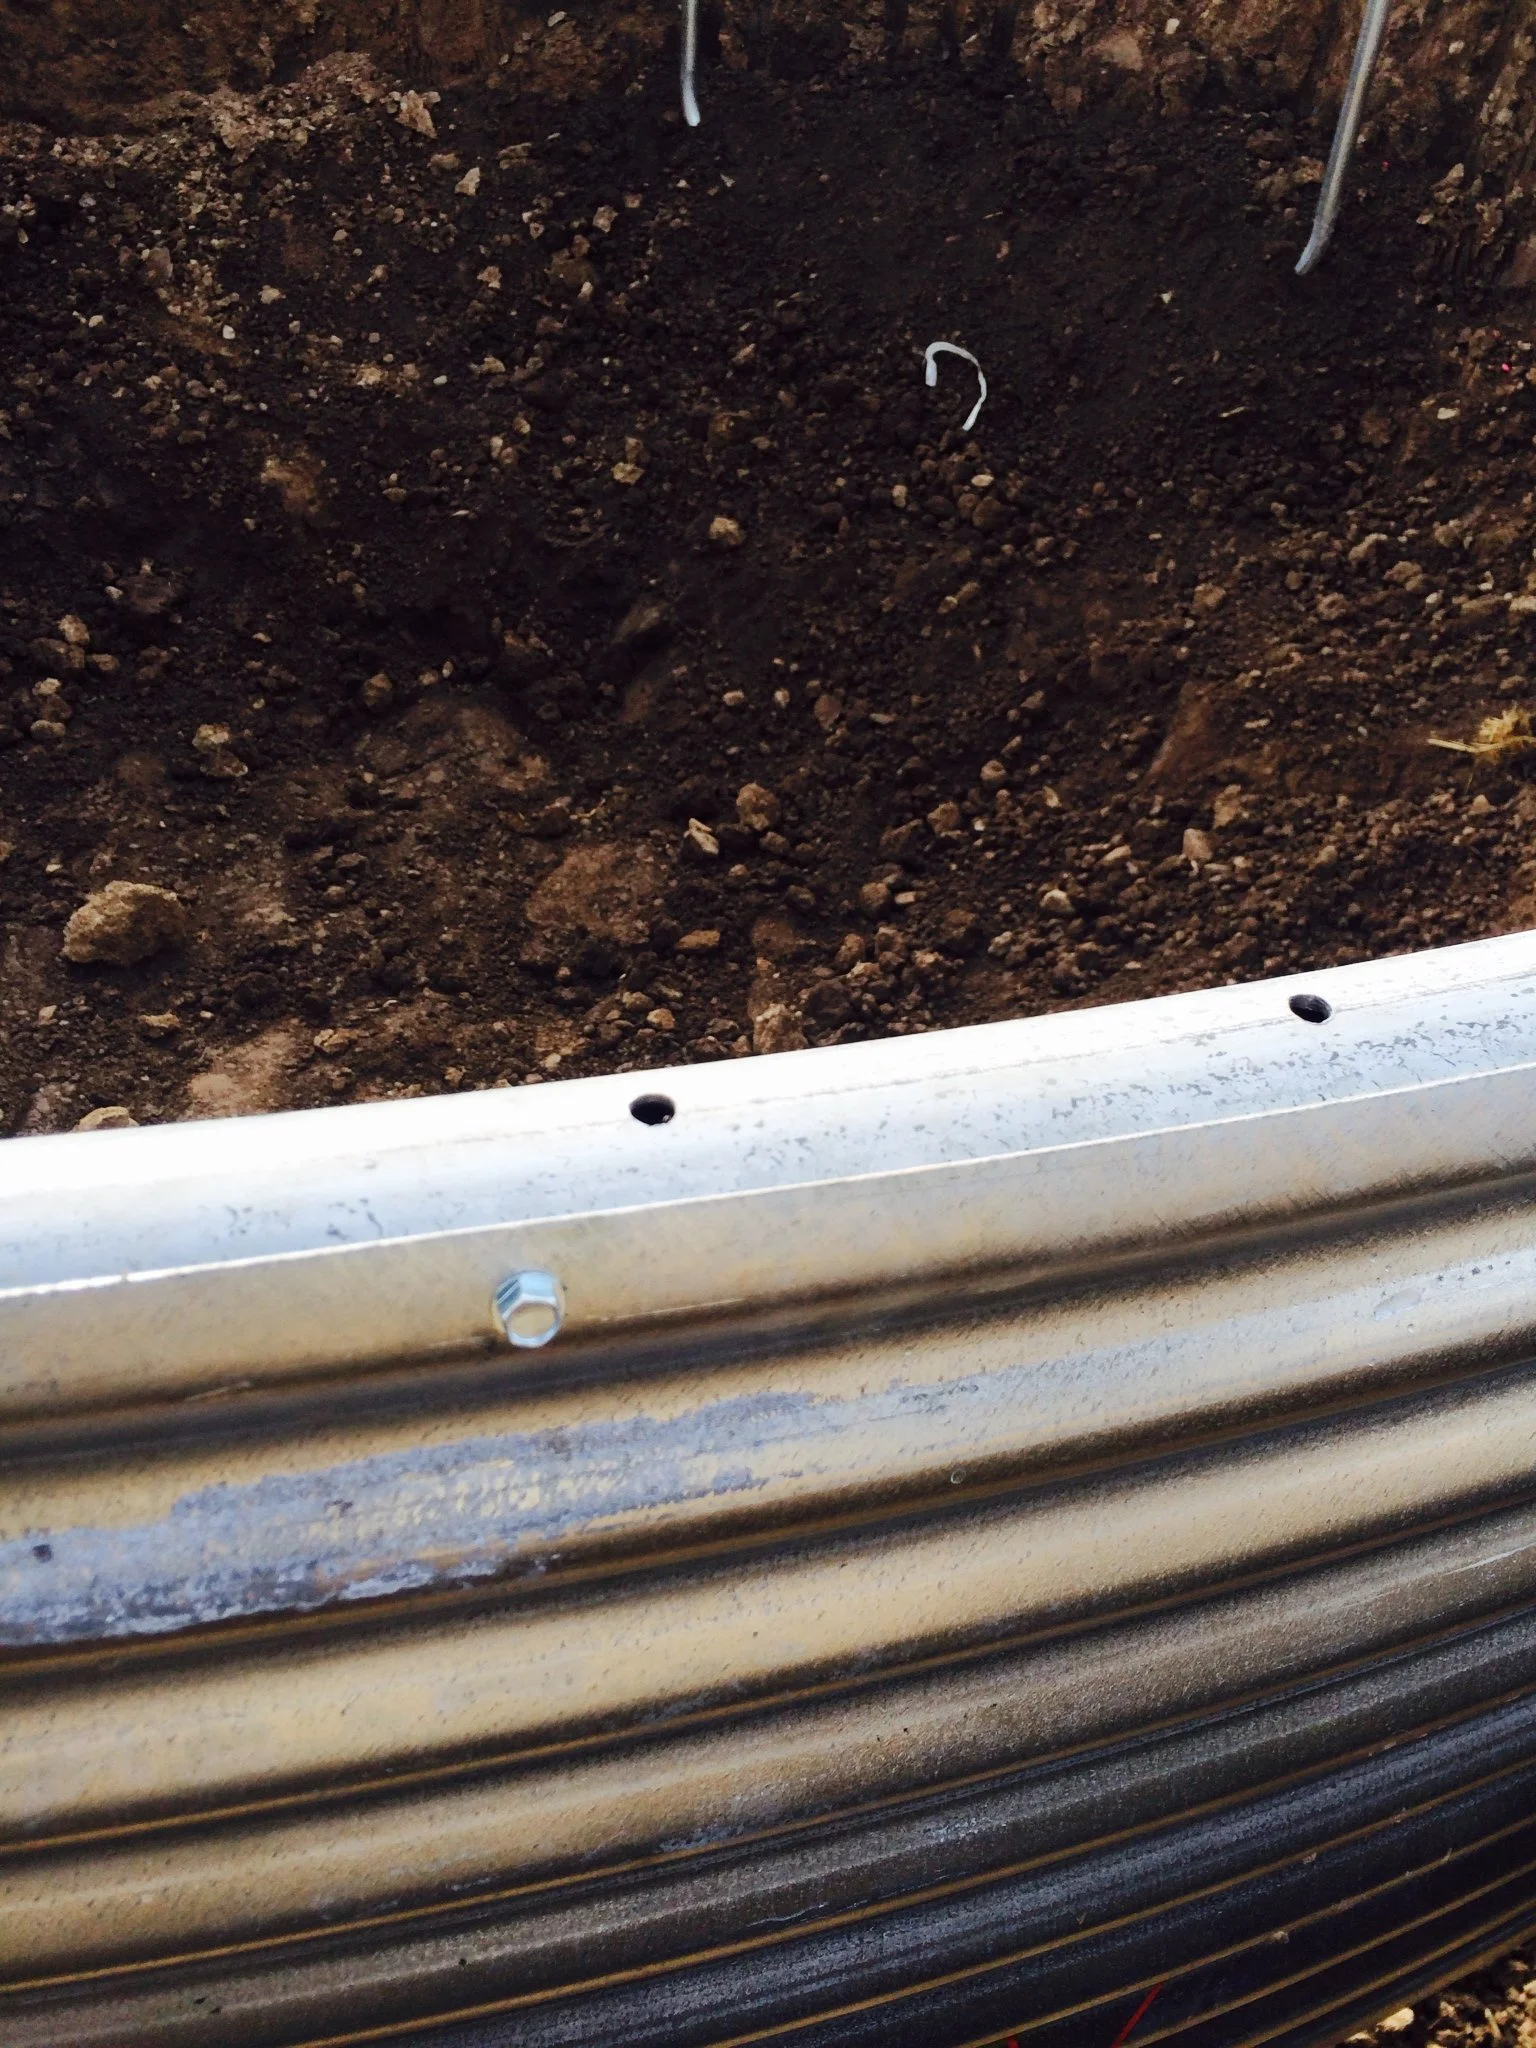
Step #4
Attach each sheet of the Trampoline Ring to the frame of the trampoline using self-tapping hardware, or hex nuts and bolts. (Recommended hardware size: #14x 1.5 Inches)
Note: Attaching the Trampoline Ring directly to the frame of the trampoline will provide a perfectly custom fit and will strengthen the trampoline frame. However, if you prefer to not attach the Trampoline Ring directly to the frame of the trampoline, you can also attach the sheets of the Trampoline Ring together using self-tapping hardware without attaching directly to the trampoline frame.
Step #5
Grade the dirt underneath the trampoline to create a funnel or bowl shape. The deepest portion of the hole should be directly under the center of the trampoline with the sides of the hole graded up to meet the base of the Trampoline Ring. This will help any water that accumulates under your trampoline to properly drain so that the legs of the trampoline will never sink or shift.
Step #6
Backfill the excavated hole with dirt and a light layer of gravel. It is recommended to bury the base portion of the trampoline legs. This will stabilize the frame of the trampoline for better performance when jumping, and will ensure that your trampoline frame stays level with the ground.
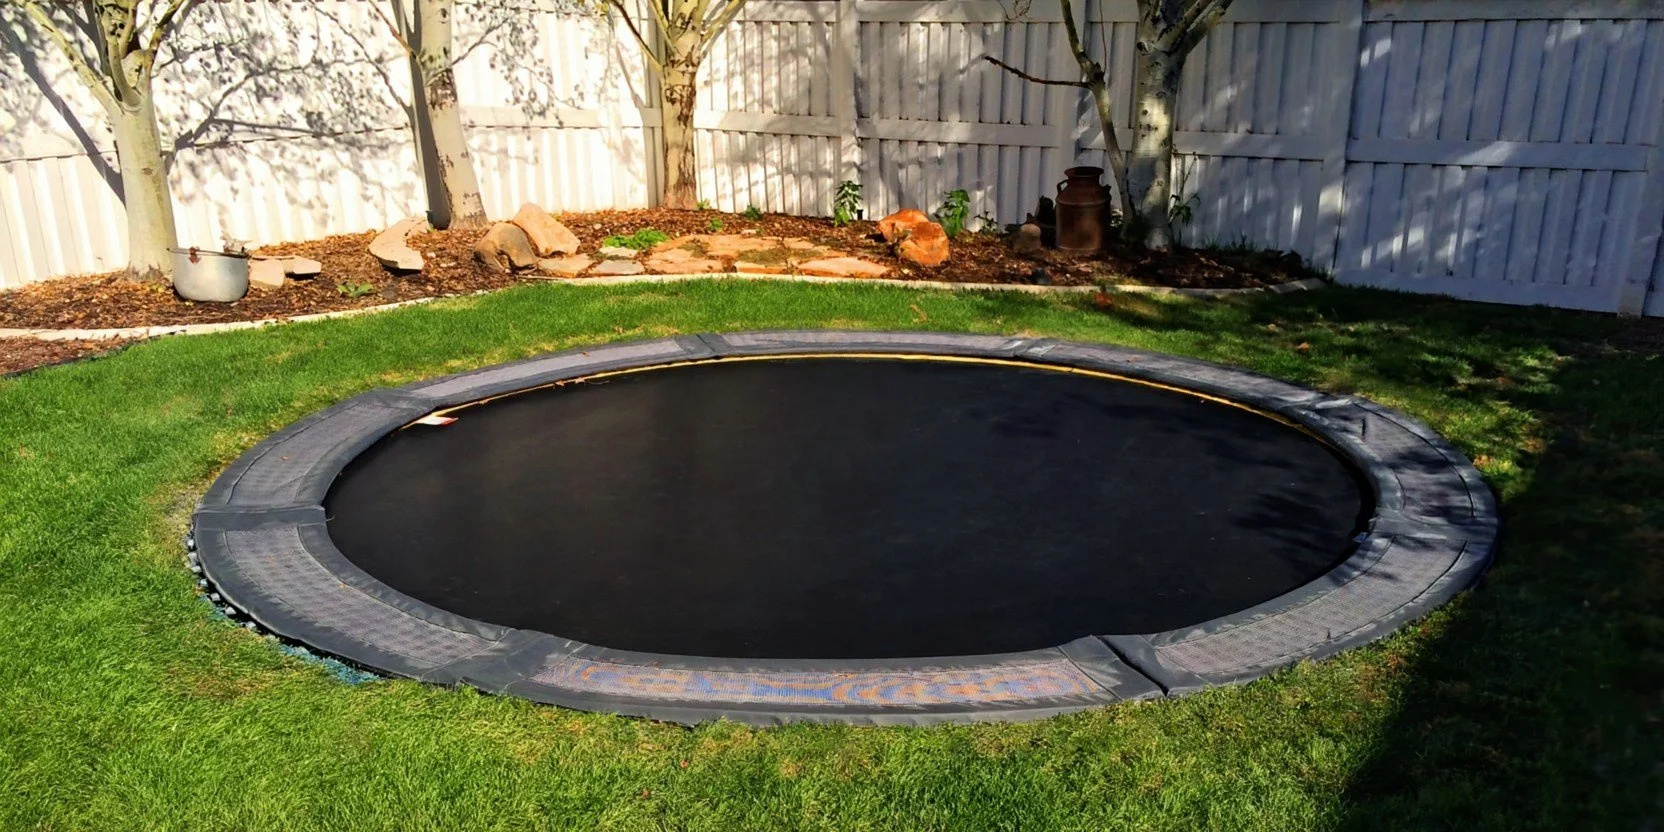
Step #7
Attach your trampoline matt and pads.